Using a thermal printer
Print queue tickets on a 58 or 80 mm thermal printer through the browser's print window. A printer is optional, since visitors can also scan the QR on screen.
Updated 1 min read
Before you start
A 58 or 80 mm thermal printer set up on the device you use, for example by USB cable to a computer.
- 1
Take a number, then press Print Ticket
Once the number is made, press Print Ticket. To print a waiting number's ticket again, press ⋯ on its row, then choose Print.
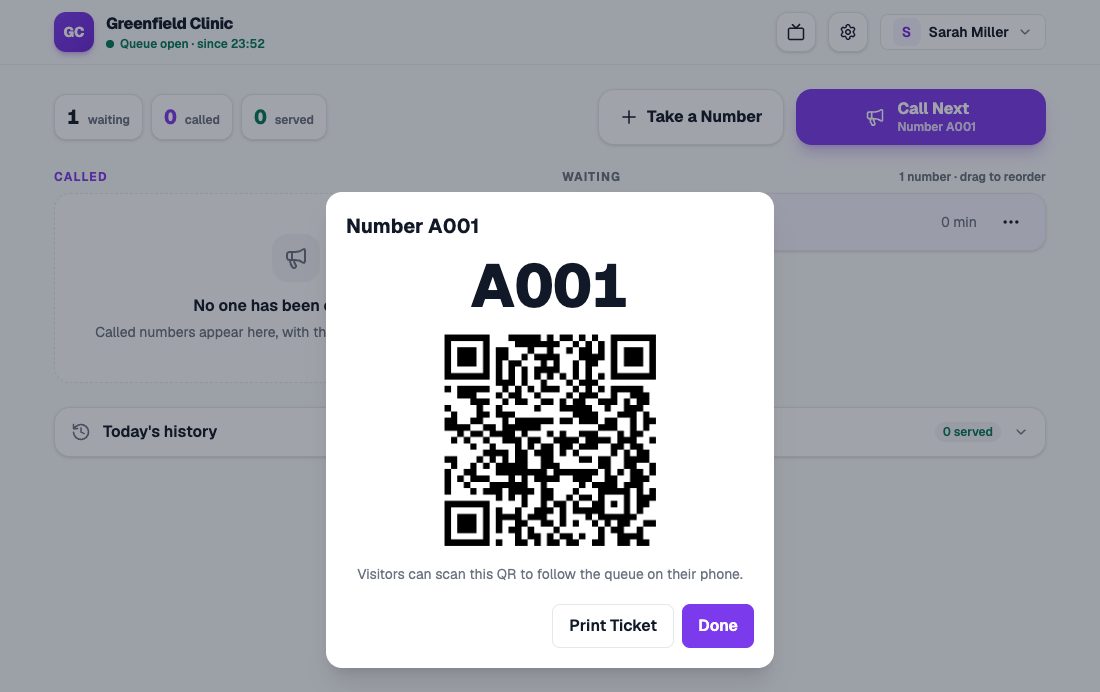
Number A001 with a QR and the Print Ticket button. - 2
Choose the thermal printer in the print window
The browser's print window opens. Choose your thermal printer, set the paper size to 58 mm or 80 mm, margins to none or minimum, and scale to 100%. Turn off headers and footers so the date and page address aren't printed.
- 3
Print, and keep the settings
The ticket shows the business name, the number, the time, how many are ahead, the QR, your ticket text, and the WaitYa address. Most browsers remember the last printer and settings, so the next tickets just need a confirm.
Devices that can print
WaitYa prints through the browser’s print window, so the printer has to work with that device.
- Computer or laptop: connect the printer by USB, then install the driver from the printer’s maker.
- Android phone or tablet: install a print service app that supports your printer, usually from its maker, then turn it on in Android’s print settings.
Printing straight to Bluetooth and USB printers, without the print window, is planned for a later update.
No printer
A printer isn’t required. Once a number is made, its ticket QR shows on screen, and the visitor can scan it with their phone. You can show the QR again with ⋯ → Show QR.
Ticket cut off or too small?
Check the paper size and scale in the print window again. Tickets are designed for 58 mm paper, and on 80 mm paper they print on the left side.